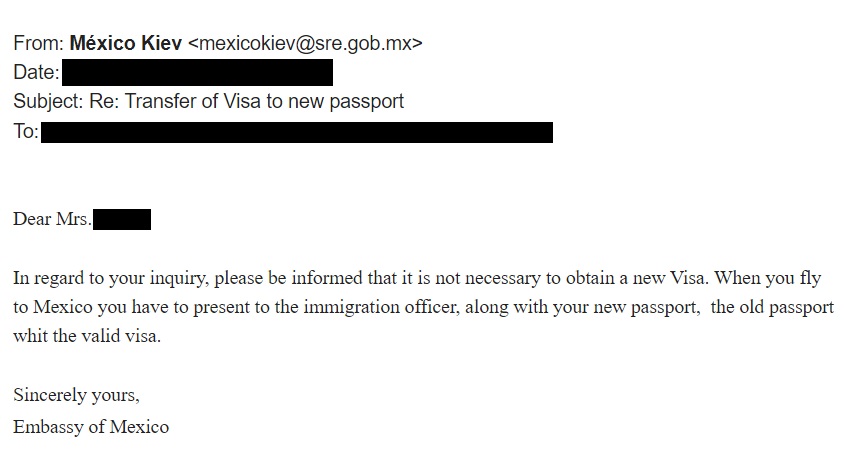
I am a citizen of the Philippines who is a permanent resident in Ukraine. I was granted a 10 years multiple entry visa in 2019 by the Embassy of Mexico in Ukraine. Embassies are busy this week relocating their citizens due to a possible Russian invasion according to the USA intel. Hence, I decided to just email the Mexican Embassy and here was their reply:
Hence, as long as the Mexico multiple entry visa is valid, there is no need to transfer it to the new Philippines Passport. You must just present your old passport with a valid Mexico visa and your new passport to the Mexico immigration control at the country’s arrival area.
This post is about our Chinese Visa Application experience. We are Philippines and Ukraine Passport holders (Filipina and Ukrainian) who are temporarily residing in Kuala Lumpur, Malaysia. The Chinese visa application here in Kuala Lumpur was done through the Chinese Visa Application Service Center. It is currently located in the address below:
Level 5 & 6, Hampshire Place Office, Jalan Mayang Sari, 50450 Kuala Lumpur.
We applied last July 2019 and entered China in September 2019. Philippines passport holders need a tourist visa Category L to enter China if he or she is going to tour the country for a few days and not just transiting there. Ukraine Passport holders also need a Category L visa to enter China and to be able to spend more than 72 hours in the country. Out reason for travelling to China at that time was because we needed to support the Philippines national basketball team in the recently concluded FIBA World Cup Basketball 2019.
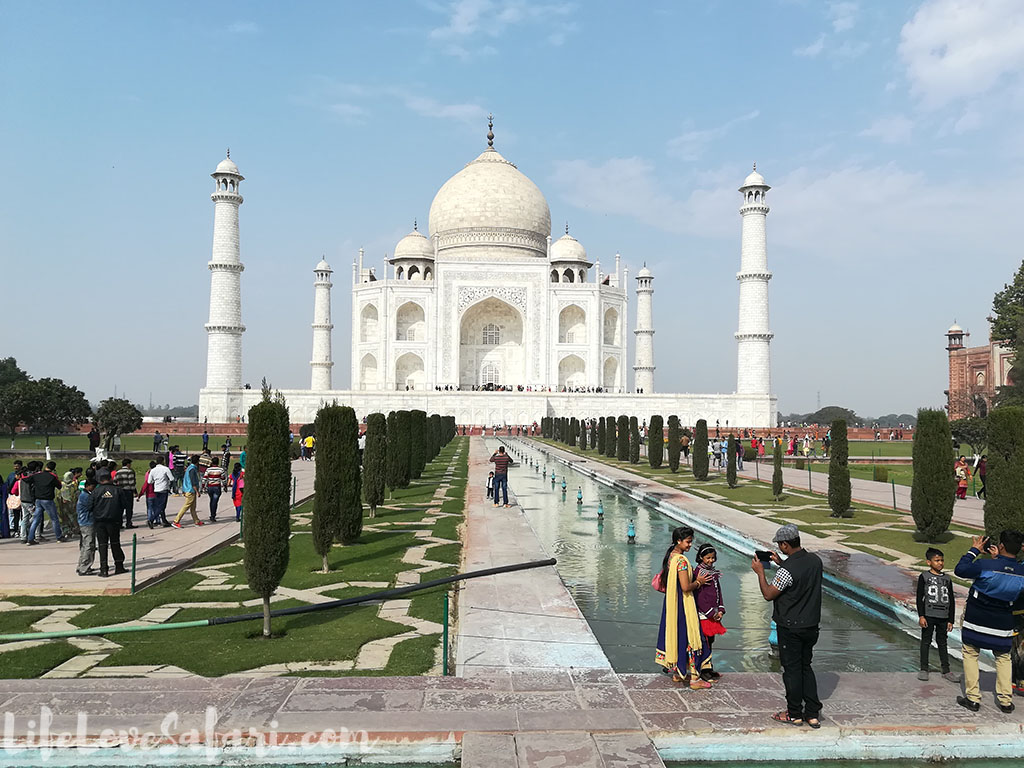
I travelled to India’s golden triangle last February 5 to 9. It is the beaten path which is composed of New Delhi which is the capital of India, Agra which is part of Uttar Pradesh State, and Jaipur which is the capital of the Rajasthan State. Before going to India, for ordinary Philippine passport holders like me, it is vital to apply for e-VISA to India. In this post, I will share the steps based on my experience and situation.
Update: As of August 10, 2018, the eVisa fee cost $80.
A. Photo and passport copy preparation.
Prepare a clear front-facing photograph with a light coloured background (e.g.: white). The photo format must be a jpeg. Its size must be a minimum of 10 KB and a maximum of 1 MB. The dimensions are minimum of 350 pixels by 350 pixels. You may use a photo editor to accomplish this.
The passport page with your personal details must be scanned and saved in pdf format. Its size must be a minimum of 10 KB and a maximum of 300 KB.
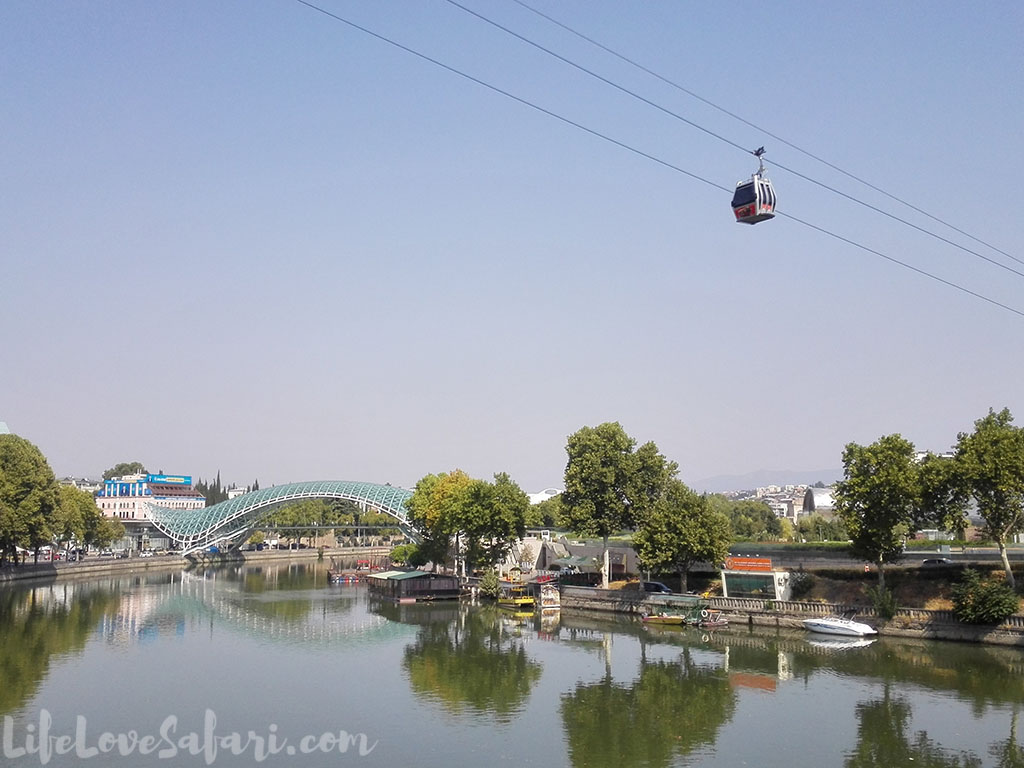
Last September 11 to 16, 2017, my husband and I visited Georgia, a country in the Caucasus region. My husband does not need a visa to enter Georgia but for ordinary Philippine passport holders like me need to apply for eVisa. In this post, I will share the steps I’ve been through based on my experience and situation. I will also share suggestions and my border crossing experience.
A. Travel Insurance, accommodation booking and return ticket. It is important to purchase travel insurance (e.g. World Nomads) that is valid throughout the period of stay in Georgia. It is also a must to book a hotel or in Airbnb for the accommodation just in case the immigration officer will ask for it.
B. Photo and passport copy preparation. Prepare a scanned passport size photo and scanned passport page with the personal details. The photo size is 472×610 pixels. The passport can also be in .jpg format.
On February 2017 I visited Sri Lanka, an island nation located in the south of India. Before going to Sri Lanka, ordinary Philippine passport holders like me need to apply for Electronic Travel Authorization (ETA). In this post, I will share the steps based on my experience and situation.
A. The Sri Lankan ETA application process.
Steps:
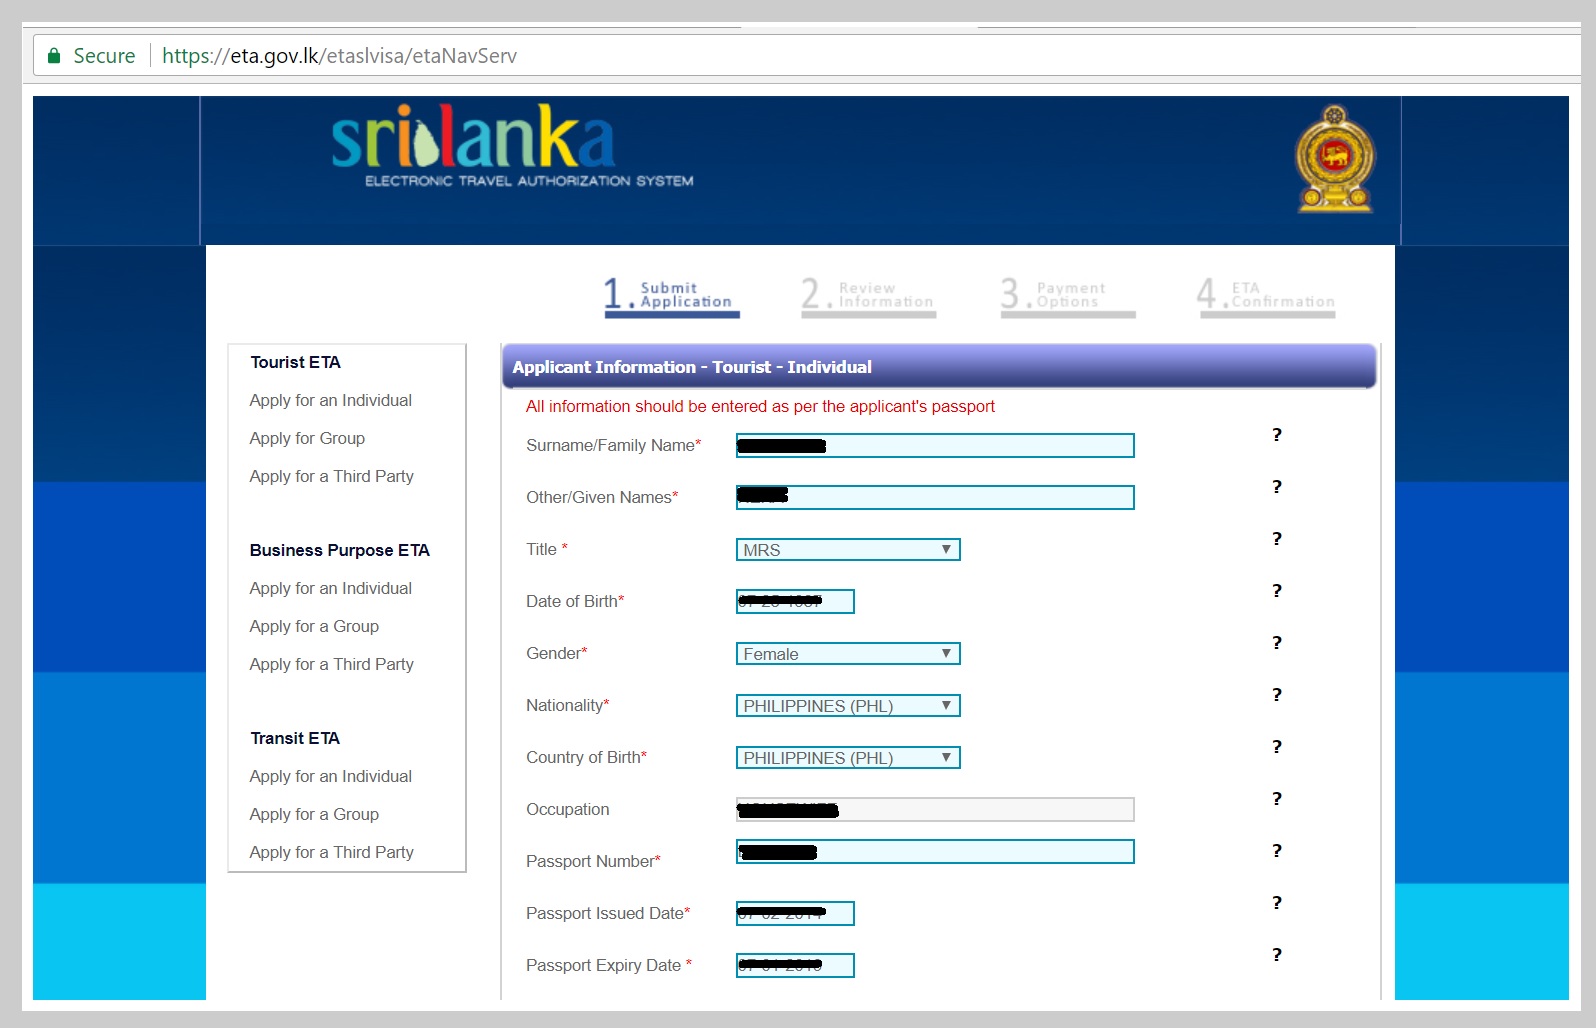
Go to Sri Lanka ETA System. Read the visa exemptions and choose which one is applicable to you.
Click the Apply tab and it is important to read thoroughly the Terms & Conditions before confirming the ETA application. Click the “I Agree” button and then click Apply for an Individual under Tourist ETA.
Fill all mandatory fields like applicant’s information and travel information. You need to enter your intended date of arrival. You can hover your mouse to the question mark icon for a hint. It says the ETA is valid up to three months from the date of issue. Then you need to enter your contact details and answer the declaration questions. The address in Sri Lanka can be the hotel’s address. The copy and paste keyboard functions are disabled in the website so you really must type in everything to the form.
Review your application and confirm. Double-check all entries. Then the VISA Application Fee Summary will be displayed too.
Select the desired payment option to pay the $35.00 VISA Application Fee. After Paying it you will get an email (Department of Immigration & Emigration Acknowledgement of ETA application). It contains a reference number and it says you will receive a response to your application within 24 hours. Make sure you check your Inbox and Junk folder if you did not get the email immediately.
B. ETA application, Approved. You will receive another email (Department OF Immigration & Emigration Sri Lanka. ETA Approval Notice.) It says that you must ensure that the particulars of the same travel document used for applying online visa are used for entering into Sri Lanka. In the event, if you produce a travel document other than the one used for applying for an online visa, you are compelled to pay again at the port of entry to Sri Lanka to obtain a fresh ETA.
C. Print the approved ETA.
Just print the email and carry a hard copy with you before flying to Sri Lanka.
D. The border crossing experience in Bandaranayake International Airport in Colombo, Sri Lanka
The experience was smooth. A question was not asked. The officer attached a small sticker on my passport that shows “1st visit,” the allowed duration of visit, a barcode and a stamped date of arrival.